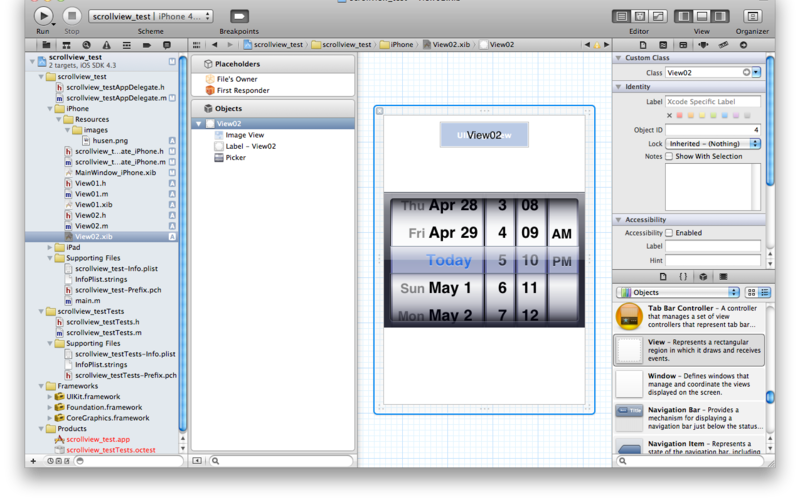
UIScrollViewサンプル
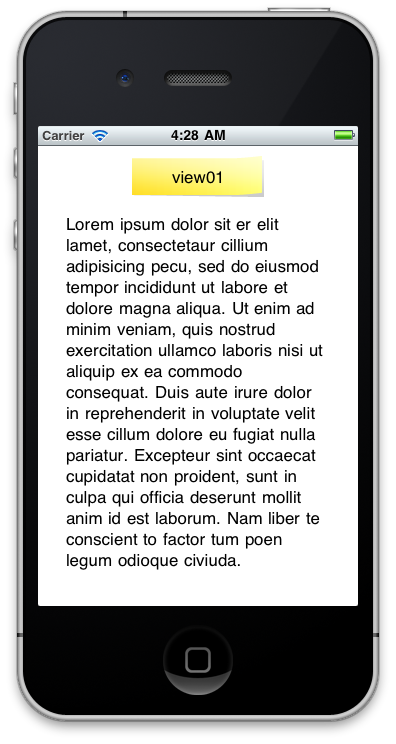
UIScrollViewのサンプル。
xcodeがversion4.0になって少し使い方が変わったため、その使い方もメモしておきます。
手順概要
xcode 4.0で作業を行う場合です。とりあえず、iphone用のファイルだけいじります。
- window baseのアプリケーションを作成します
- UIScrollViewを追加します
- UIScrollViewに表示するView(View01、View02)を作成します
- 追加したUIScrollViewにView(View01、View02)を設定します
手順詳細
window baseのアプリケーションの作成
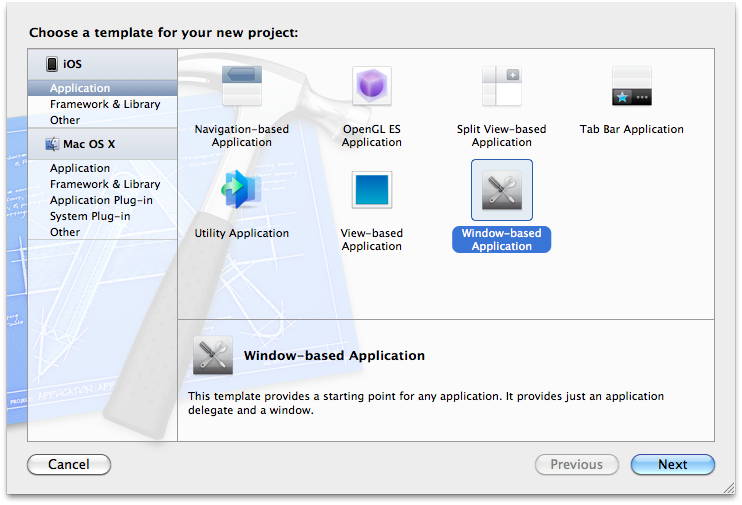
File > New > New Projectからwindow-based Applicationを作成します。
今回は、適当にscrollview_testといったプロジェクト名にしました。
UIScrollViewを追加
- xibファイルの編集
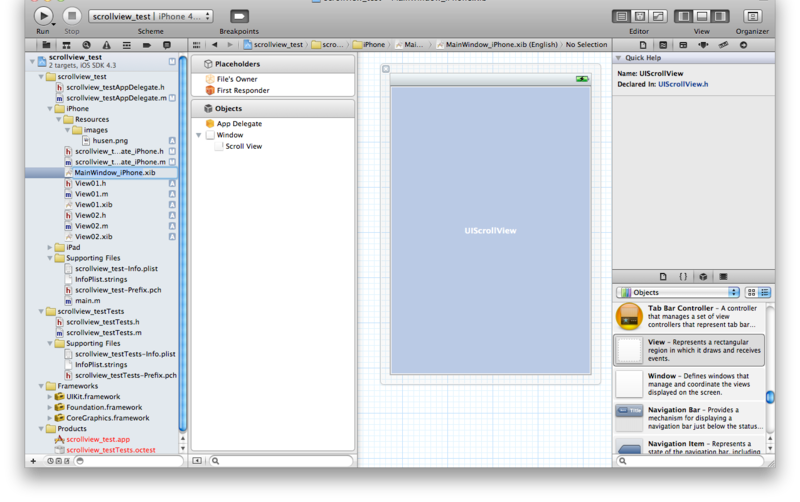
MainWindow_iPhone.xibを編集して、UIScrollViewを追加します。
- IBOutletの追加
scrollview_testAppDelegate_iPhone.h、scrollview_testAppDelegate_iPhone.mを編集して、UIScrollViewを追加します。
scrollview_testAppDelegate_iPhone.h
#import <UIKit/UIKit.h>
#import "scrollview_testAppDelegate.h"

@interface scrollview_testAppDelegate_iPhone : scrollview_testAppDelegate {
    IBOutlet UIScrollView* myScrollView;
}

@property(nonatomic, retain) UIScrollView* myScrollView;

- (UIView*)createViewByType:(int)type withFrame:(CGRect)rect;

@end
scrollview_testAppDelegate_iPhone.m
#import "scrollview_testAppDelegate_iPhone.h"

@implementation scrollview_testAppDelegate_iPhone

@synthesize myScrollView;

- (void)dealloc
{
    [myScrollView release];
	[super dealloc];
}

@end
表示するView(View01、View02)を作成
- View01.h,View01.mの追加
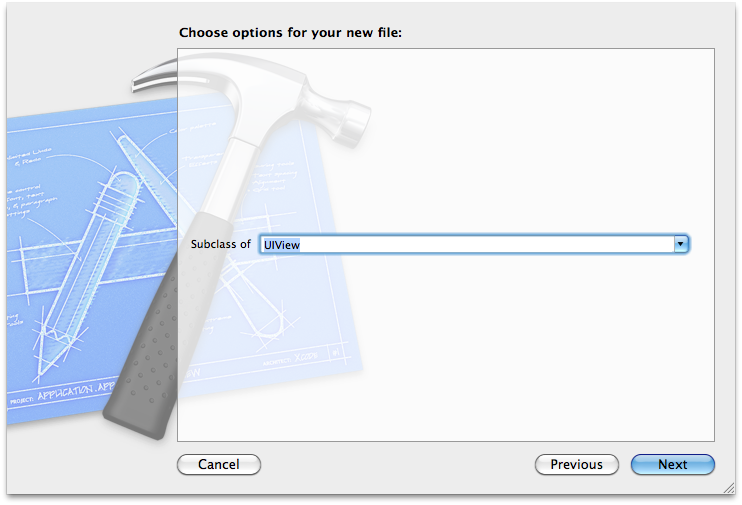
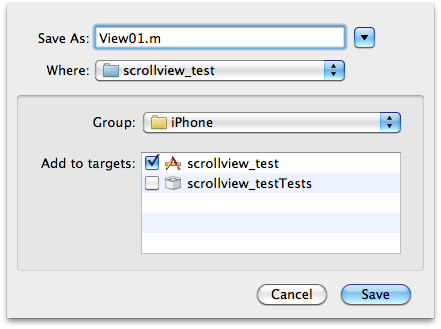
File > New > New FileからView01.mを追加します。
- View01.h,View01.mの編集
View01.h、View01.mを編集します。
View01.h
#import <UIKit/UIKit.h>


@interface View01 : UIView {
    IBOutlet UILabel* label;
    IBOutlet UIImageView* imageView;
    IBOutlet UITextView* textView;
}

@property(nonatomic, retain) UILabel* label;
@property(nonatomic, retain) UIImageView* imageView;
@property(nonatomic, retain) UITextView* textView;

@end
View01.m
#import "View01.h"


@implementation View01

@synthesize label, imageView, textView;

- (id)initWithFrame:(CGRect)frame
{
    self = [super initWithFrame:frame];
    if (self) {
        // Initialization code
    }
    return self;
}

/*
// Only override drawRect: if you perform custom drawing.
// An empty implementation adversely affects performance during animation.
- (void)drawRect:(CGRect)rect
{
    // Drawing code
}
*/

- (void)dealloc
{
    [label release];
    [imageView release];
    [textView release];
    [super dealloc];
}

@end
- View01.xibの追加
File > New > New FileからView01.xibを追加します。
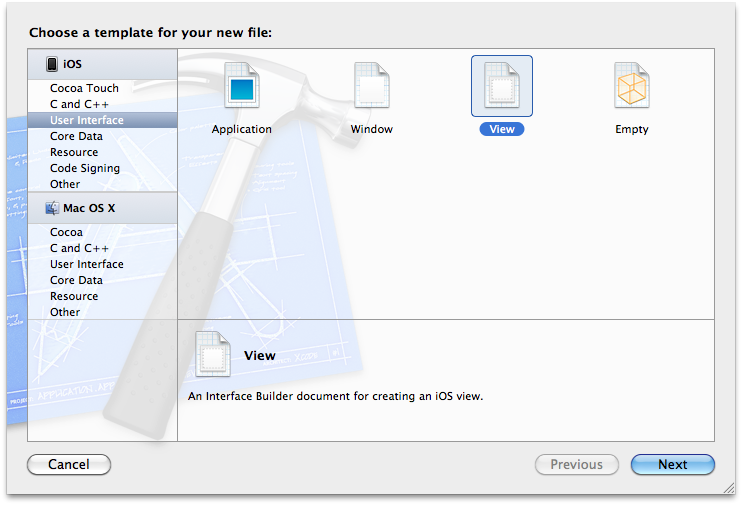
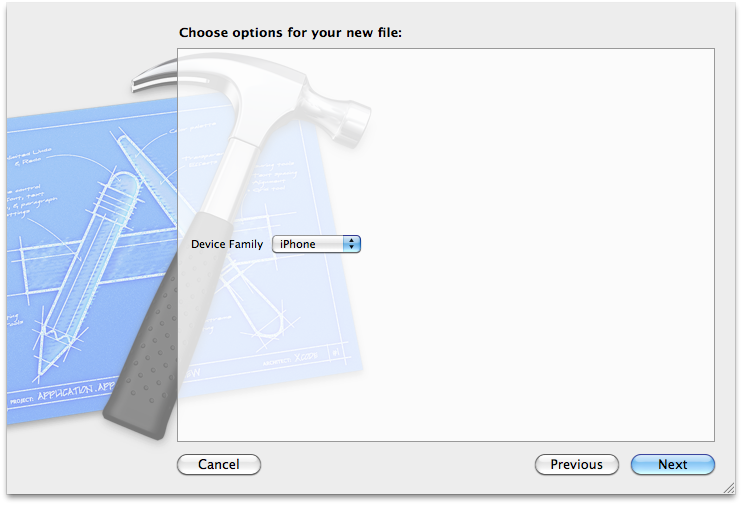
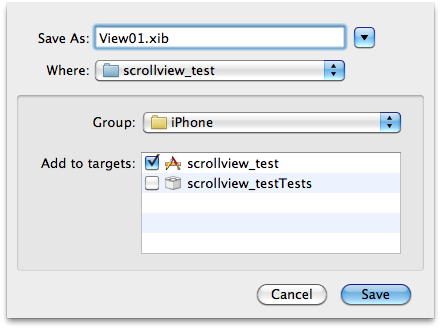
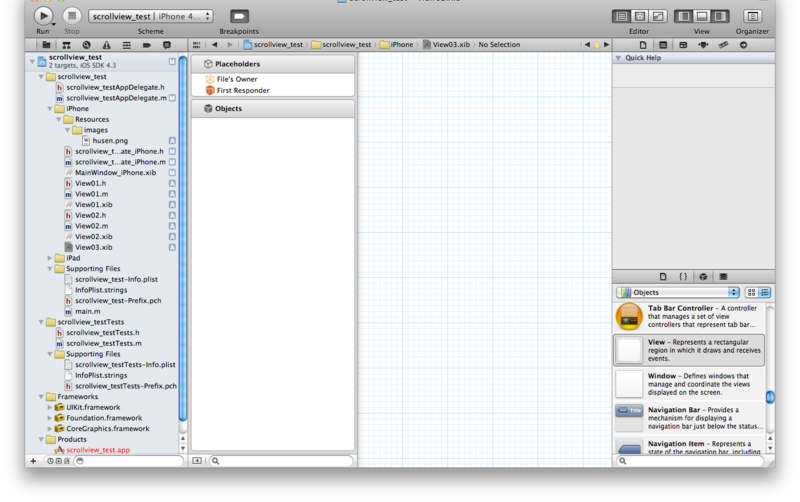
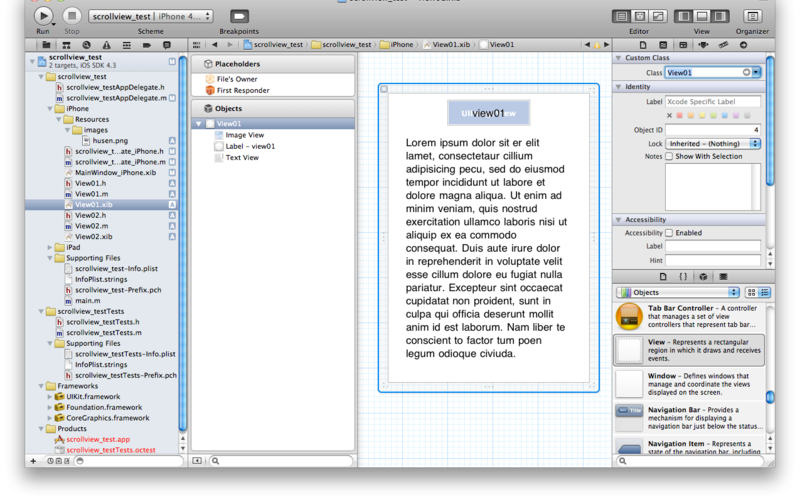
View01.xibを編集します。
まずは、Objectsに設定されているViewを削除します。
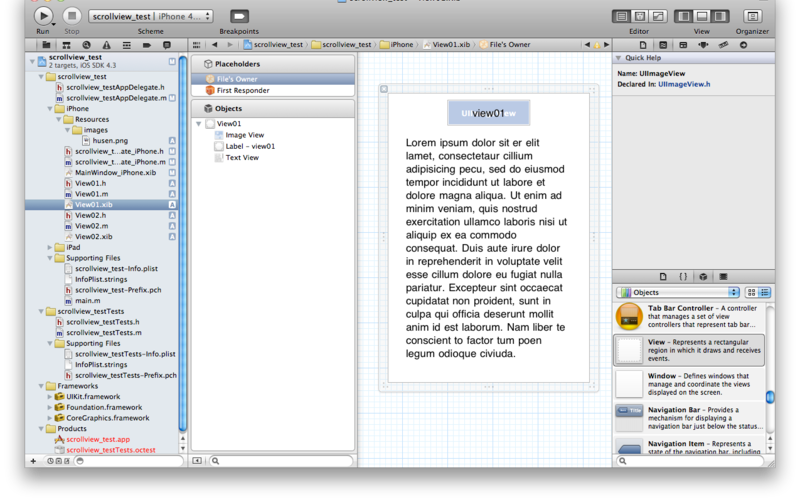
その後、新しくUIViewを設定し、UILabel,UIImageView,UITextViewを追加します。
View01.xibのFile's OwnerのCustom ClassにUIViewControllerを設定します。
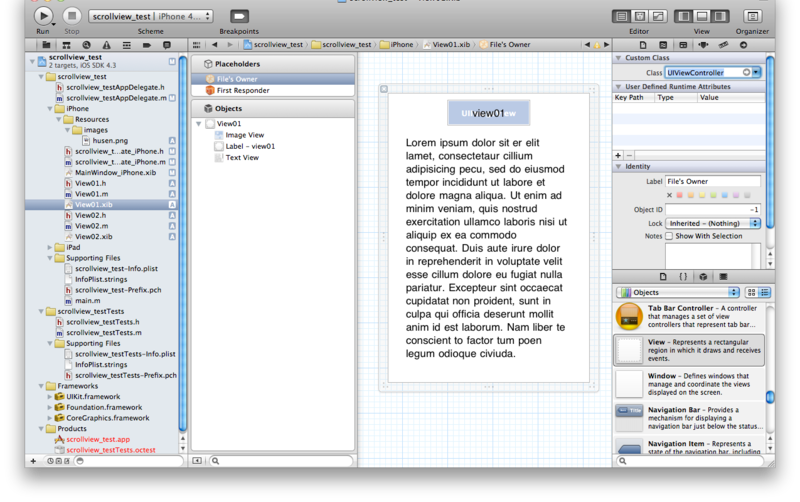
View01.xibのObjectsのViewのCustom ClassにView01を設定します。
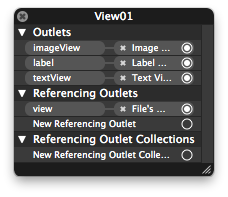
View01のlabel, imageView, textViewを設定します。
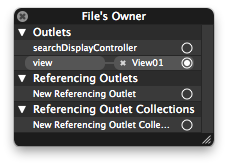
File's OwnerのviewにView01を設定します。
- View02.h 、View02.m、View02.xibの追加
View02も同様に作成します。
View02.h
#import <UIKit/UIKit.h>

@interface View02 : UIView {
    IBOutlet UILabel* label;
    IBOutlet UIImageView* imageView;
    IBOutlet UIDatePicker* datePicker;
}

@property(nonatomic, retain) IBOutlet UILabel* label;
@property(nonatomic, retain) IBOutlet UIImageView* imageView;
@property(nonatomic, retain) IBOutlet UIDatePicker* datePicker;

@end
View02.m
#import "View02.h"

@implementation View02

@synthesize label, imageView, datePicker;

- (id)initWithFrame:(CGRect)frame
{
    self = [super initWithFrame:frame];
    if (self) {
        // Initialization code
    }
    return self;
}

/*
// Only override drawRect: if you perform custom drawing.
// An empty implementation adversely affects performance during animation.
- (void)drawRect:(CGRect)rect
{
    // Drawing code
}
*/

- (void)dealloc
{
    [label release];
    [imageView release];
    [datePicker release];
    [super dealloc];
}

@end
追加したUIScrollViewにView(View01、View02)を設定
scrollview_testAppDelegate_iPhone.m
#import "scrollview_testAppDelegate_iPhone.h"
#import "View01.h";
#import "View02.h";

@implementation scrollview_testAppDelegate_iPhone

@synthesize myScrollView;

- (BOOL)application:(UIApplication *)application didFinishLaunchingWithOptions:(NSDictionary *)launchOptions
{
    if(NO == [super application:application didFinishLaunchingWithOptions:launchOptions])
        return NO;

    CGFloat w = myScrollView.frame.size.width;
	CGFloat h = myScrollView.frame.size.height;
	[myScrollView setContentSize:CGSizeMake(w*2, h)];

    [myScrollView addSubview:[self createViewByType:0 withFrame:CGRectMake(0, 0, w, h)]];
    [myScrollView addSubview:[self createViewByType:1 withFrame:CGRectMake(w, 0, w*2, h)]];

    return YES;
}

- (UIView*)createViewByType:(int)type withFrame:(CGRect)rect {

    switch(type) {
        case 0:
        {
            // create view
            UIViewController* viewController = [[UIViewController alloc] initWithNibName:@"View01" bundle:nil];
            View01* view = (View01*)viewController.view;
            [viewController release];

            // view setting
            [view setFrame:rect];
            view.imageView.image = [UIImage imageNamed:@"husen.png"];

            return view;
        }
        case 1:
        {
            // create view
            UIViewController* viewController = [[UIViewController alloc] initWithNibName:@"View02" bundle:nil];
            View02* view = (View02*)viewController.view;
            [viewController release];

            // view setting
            [view setFrame:rect];
            view.imageView.image = [UIImage imageNamed:@"husen.png"];

            return view;
        }
    }

    return nil;
}

- (void)dealloc
{
    [myScrollView release];
	[super dealloc];
}

@end
